Updated · 6 min read
Food Container and Tupperware Organization Ideas: 9 Renter-Safe Buys That End the Lid Avalanche
Product buttons open current options and prices at the shop. Nothing here is sponsored. How we pick.
If you have a tiny kitchen, maybe a single cabinet you share with a roommate, and opening it means containers spill out, this guide is for you. Below are nine no-drill buys that keep bases nested, lids findable and everything fitting in the space you actually have. Before you buy anything, pull every container out and toss the warped, stained and lidless ones. Most people only need about twice the number they use in a typical week.
1. Expandable Lid Organizer
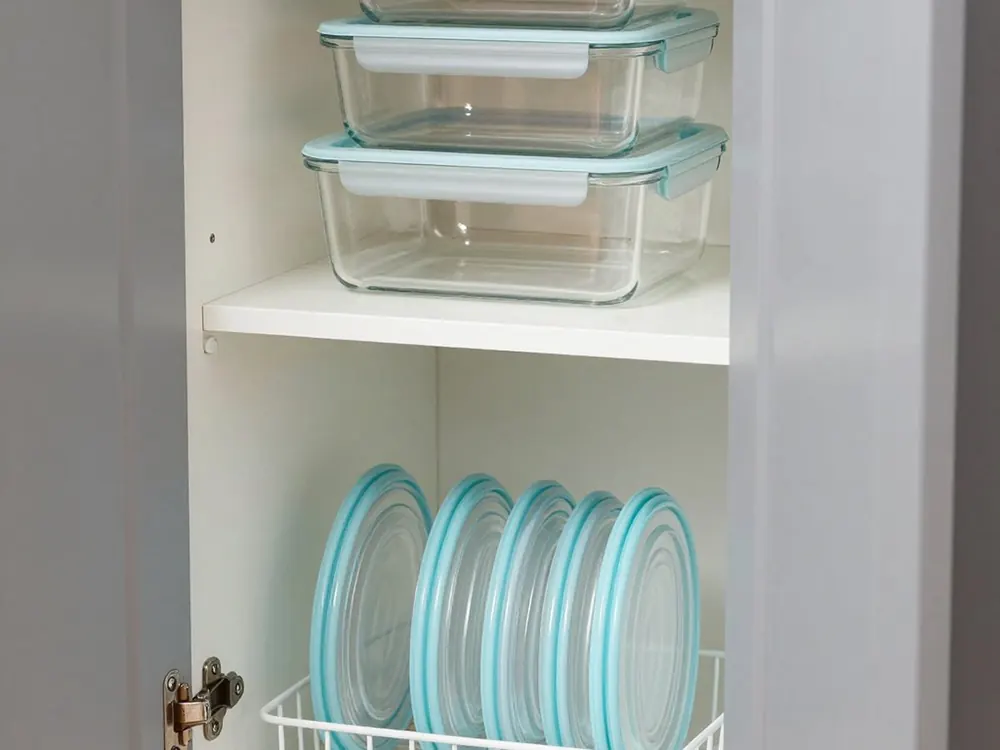
Most of the mess comes from lids, so start there. An expandable lid organizer has adjustable dividers that hold lids upright like files, so you can pull out one without the rest sliding around. It sits freely on a shelf or in a drawer with no screws, and most models extend to fit different cabinet widths. Measure your shelf depth first, since many are about 10 to 12 inches deep.
Best for: Anyone with a pile of loose lids taking over a shelf
Typical price: $15–$30
See adjustable lid organizers →
2. Sliding Pull-Out Cabinet Basket
Deep lower cabinets are where containers get lost. A freestanding pull-out basket glides out like a drawer, so you can reach the back without kneeling on the floor. Look for a model that stands on its own base. Some pull-outs have to be screwed into the cabinet floor, which you don't want in a rental. Measure the inside width of the cabinet door opening, not the cabinet itself, because hinges and the center stile can take up an inch or more.
Best for: Deep base cabinets in older rental kitchens
Typical price: $25–$60
See no-drill pull-out baskets →
3. Expandable Cabinet Shelf Riser
Rental cabinets often have one fixed shelf with a foot of empty air above your containers. A shelf riser adds a second level: bases go on the bottom and lids or small containers go on top. Expandable versions adjust to fit odd widths. Leave at least 2 inches between the riser top and the shelf above so you can still lift things out.
Best for: Tall cabinets with only one shelf
Typical price: $15–$35 (often sold as a 2-pack)
4. Clear Storage Bins With Handles
Put nested bases in a clear bin and you can slide the whole set out at once. Grab the bin, take the container you need and slide it back. Clear plastic lets you see what's inside without digging, and a handle makes the high shelf usable even if you're short. A bin about 6 inches wide and 12 to 14 inches deep fits most standard upper cabinets.
Best for: High shelves and the "bases only" zone
Typical price: $20–$40 for a set of 4–6
5. Nesting Container Set With Fewer Lid Sizes
The best organizer is often a smaller collection. Sets designed to nest use only a few lid sizes, so there are fewer lids to match and the stack takes up much less room. Rubbermaid's Brilliance line is a well-known option with stackable bases and clear lids. Swap out your mismatched takeout tubs gradually rather than all at once.
Best for: Replacing a random mix of hand-me-downs and takeout tubs
Typical price: $25–$50 for a mid-size set
6. Glass Meal Prep Containers
Glass doesn't stain from tomato sauce or hold onto smells, and you can use it in the microwave and oven (not the lids). Pyrex sells widely available glass sets with snap-on lids. Glass is heavier, so keep it on a lower shelf. Many renters also find that rectangular shapes stack better than round ones in a small fridge. If you meal prep weekly, see Meal Prep Organization for Small Kitchens: Space-Saving Strategies That Actually Work for a full setup.
Best for: Weekly meal preppers and leftover reheaters
Typical price: $30–$60 for a set
7. Adjustable Drawer Dividers or Pegboard
If your kitchen has one deep drawer, it can hold all your containers. Spring-loaded dividers or a pegboard insert let you stand lids on edge and keep stacks of bases in place so they don't tip when you open the drawer. Neither needs tools, and both come out when you move. For more layouts, read Deep Drawer Organization Ideas for Your Kitchen: 9 Renter-Safe Buys That Actually Fit.
Best for: Kitchens with a deep bottom drawer
Typical price: $15–$35
8. Over-the-Cabinet-Door Basket
The inside of a cabinet door is unused space. An over-the-door basket hooks over the top edge with no adhesive or screws and holds flat lids, foil and plastic wrap. Check two things before you buy: whether the door has a gap at the top for the hooks, and whether the basket will hit the shelves when the door closes. You usually need 2 to 3 inches of clearance.
Best for: Flat lids and wraps when shelf space runs out
Typical price: $12–$25
See over-door cabinet baskets →
9. Collapsible Silicone Containers
When you're not using them, these fold down to about a third of their full height, which helps a lot in a dorm or studio with almost no cabinets. They're good for lunches, snacks and small leftovers. Buy food-grade silicone, and check whether the lids are rated for the dishwasher, since some aren't.
Best for: Dorms, studios and lunch packers
Typical price: $20–$35 for a set of 4
How to choose
- Measure the opening, not the cabinet. Hinges, face frames and the center stile all take up space. Write down the door opening width, the interior depth and the height between shelves before you shop.
- Check the weight limits. Glass sets are heavy. If a riser or pull-out doesn't list a weight capacity, keep glass on the cabinet floor or a fixed shelf.
- Skip anything that needs screws or strong adhesive. Your security deposit will thank you. If a product is described as "easy install," check the photos for mounting brackets.
- Pick one zone. Keep all containers and lids in one cabinet or drawer. If they're spread across four spots, you'll have orphan lids again within a month. How to Organize Kitchen Cabinets in a Small Kitchen: Maximize Every Inch covers how to assign zones.
- Store by how often you use things. Everyday lunch containers go at arm's height. Big-batch and holiday containers go up high or in the back.
- Use painter's tape for labels. Write the contents and date with a marker. It comes off cleanly and helps you eat leftovers before they go bad.
- Set a cap. Choose a number, like 15 to 20 containers, and stick to it: when a new one comes in, an old one goes out. Takeout tubs that aren't airtight or stain-resistant don't count as storage.
FAQ
How do I stop lids and bases from getting separated?
Keep lids upright in one organizer right next to their bases, in the same cabinet. Put any lid without a match in a small "orphan lid" bin, then spend five minutes once a month matching them up or recycling them.
Are glass or plastic containers better for a small kitchen?
Glass lasts longer and doesn't stain, but it's heavier and bulkier. Plastic or silicone nests tighter and weighs less. Many renters keep a small glass set for reheating and plastic for everything else. Either way, sticking to one brand or line makes stacking much easier.
What if I don't have a cabinet to spare?
Use a deep drawer with dividers, a clear bin on top of the fridge, or collapsible containers in a basket on an open shelf. Small Apartment Kitchen Organization on a Budget: 17 Solutions That Actually Work has more ideas for kitchens with almost no storage.